As the temperatures plunge into single digits and the winds whip the chill down below zero, many farmers are fretting as their pregnant ewes, does and sows begin dropping their young. Heat lamps and 250 watt bulbs are flying off the shelves at the local farm supply and hardware stores in an effort to ensure that when the squirming wet bundles enter this world they don't leave it shortly thereafter as four-legged ice cubes.
Thanks to the era of blogs, Facebook, Instagram, Twitter and Flickr, I'm seeing lots of postings of newborn lambs, kids and piglets being born in the midst of yet another polar vortex. In many of the photos, I'm also seeing something that causes me to cringe: an uncaged heat lamp in a barn, especially old barns--a recipe for disaster, a ticking time bomb, every farmer's worst nightmare...a barn fire.

With a timber-frame American Chestnut barn circa 1865, I fretted about this very issue when I first began raising goats that kidded during late winter. Although farm babies are mighty hardy, triplets born to a first-time mother in sub-freezing weather often need that extra boost of heat to survive. I mitigated their use with a smoke alarm and a baby monitor know full well that if, indeed, the baby monitor relayed the alarm of the smoke detector, even by the time I got on a pair of boots and coveralls and got to the barn with an extinguisher in hand I had little chance of controlling a fire in a wooden barn filled with straw and hay.
How many fellow farmers over the years had I consoled? How many times had I helped move charred timbers, watched as blackened and bloated beloved stock were scooped from the rubble with a loader?
But it doesn't have to be this way......
 If you've got twenty bucks and an hour, you can easily build a heat barrel. These handy and practical pieces of equipment will not only keep your young livestock warm in winter weather, they will ensure your barn won't burn down from a heat lamp that has fallen into bedding and because they use less than half the energy of a traditional heat lamp bulb, they will save you money.
 So, how do you build one?
Materials & Tools
1 55 gallon plastic barrel with and open end
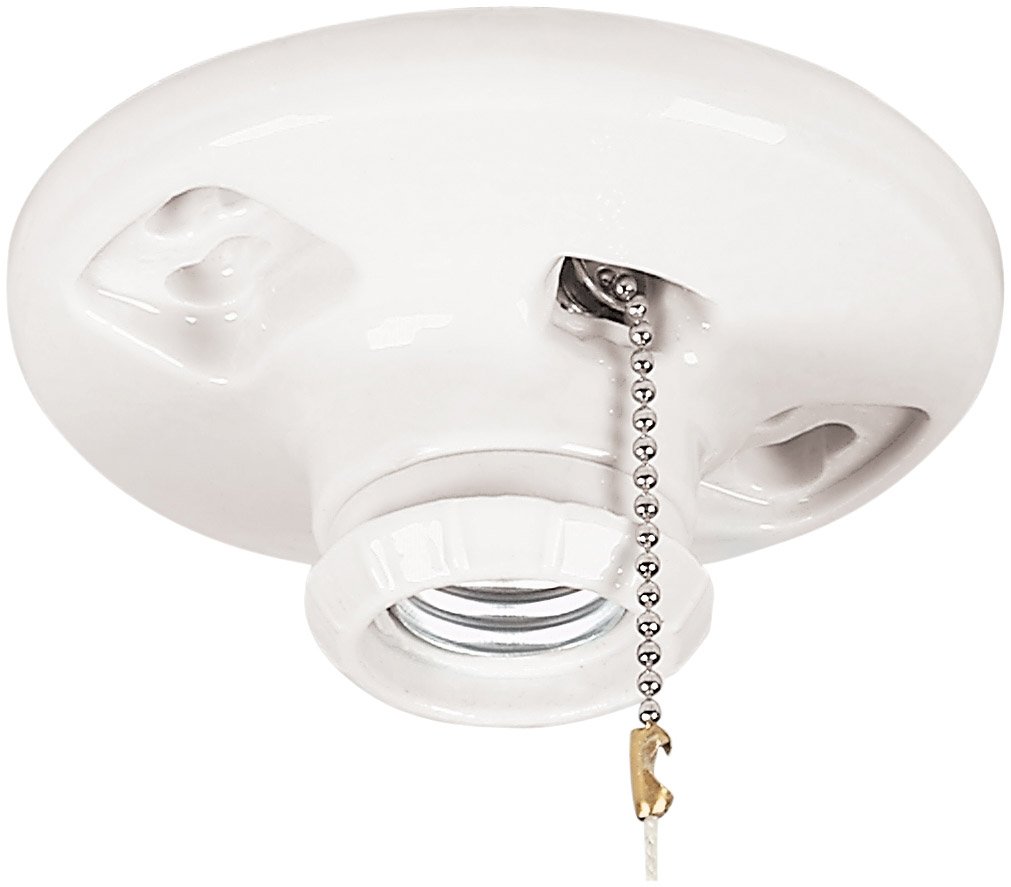
1 ceramic single bulb light fixture
1 grounding three-prong electrical plug
 6-8 feet heavy-duty electrical cord
1 electrical cord clamp
1 metal bracket
1 metal ring
4 nuts, bolts and washers fit to the fixture and bracket
1 100-watt incandescent light bulb
drill
jig saw/reciprocating saw
screwdriver
measuring tape
 pliers/small socket
 Sharpie marker
Plastic barrels can often be picked up for next to nothing or free. Check Craig's List, local food manufacturers or recycling centers. The hardware can be picked up at any hardware store such as Home Depot or Lowe's and will cost less than $20. Although 100-watt incandescent bulbs are no longer manufactured, they are readily available both in stores and online.
Building Your Barrel
 First, start by removing the top from the barrel. Many barrels come with the entire top able to be removed while others are sealed tight with only a pair of holes. If your barrel is sealed tight, using your saw, cut around the top of the barrel to leave it completely open. This will allow the barrel to rest directly on the bedding so it can simply be picked up and moved to a clean spot when the bedding becomes soiled and when you are finished with the barrel, it will not require the bedding to be cleaned out.
 Next, install the light fixture to the barrel. Set the barrel open end down, drill a 1-inch hole in the center of the solid bottom (now the top) of the barrel. Either a spade bit or hole-cutter bit will do the job. I've used both. Thread the electrical cord through the hole and wire the light fixture to the cord. For electrical cord, I've used heavy-duty outdoor extension cords or similarly shielded cord that can be purchased by the foot. Make sure the cable has three wires--a negative, a positive and a ground. Pull the cord through the hole in the top of the barrel until the fixture is against the plastic. Using the drill and a drill bit that will go through the fixture's attachment holes, drill a pair of holes in the barrel through which you will attach the fixture to the barrel. After drilling the holes, place a bolt through each hole with a washer on the outside of the barrel and secure with the nut on the inside with either a set of small pliers or a small socket fitting the bolt. On the open end of the cord, thread the electrical cord clamp over the cord, clamp side up, and secure flush with the top of the bracket over the hole. This will secure the cord at the point of attachment and prevent wear. Finally, wire the three-pronged grounding plug to the open end of the cord. An easy cheat for this is to purchase a heavy-duty outdoor extension cord and cut off the female end to which you will wire the light fixture.
 Third, you will need to install a bracket and ring. While many people often skip this step, chances are they come back and install it after finding their warming barrel tipped over and pulled from the socket rendering it useless. Keep in mind, these are farm animals we're dealing with and they will find every way possible to mess with your equipment. I use a simple four-hole strap that I bend over a piece of pipe for a space under which I attach a metal ring. Forget the baling twine. Forget the rope. We're talking livestock-tough. Trust me on this one. Again, using the drill, make two holes and attache the bracket and ring to the top of the barrel using the bolts, nuts and washers.
 The fourth and final step is cutting the hole for the kids. Over the years I've experimented with various sized holes and have found that a 9" x 7" opening works the best. Any bigger and you run the risk of the mommas getting more than just their heads through the barrel when looking for their young. I've had to cut a few of them out who have wiggled in past their shoulder becoming tight, but with this sized hole it accommodates the young while keeping the adults out. To cut the hole, measure and outline the hole using a Sharpie marker or some other type of permanent pen. Do not cut the bottom of the barrel. Keep a lip on the barrel for stability and to prevent sharp edges. Make a pilot hole using the drill and then with either a jig or reciprocating saw, cut around the outline to create a hole, rounding at the corners.
 Deploying Your Barrel
I like to have my barrels set up and turned on prior to the kids arrival. This allow the expectant females to become accustomed to their presence and prevents you from causing a commotion in the maternity ward when the mommas need to be tending to their newborns.

 For goats and sheep, chaining the barrels to a fixed structure or large, well-secured bracket will work. If you are using the warming barrels for pigs, however, it is best to secure them behind a gate panel as well as a female sow is much stronger and will tear a barrel from the bracket.
Place the barrel, preferably in a corner, on a firm bed of straw. If you continue to add bedding around the barrel, be certain to keep it from building up in front of the opening.
Don't worry about introducing the newborns to the warming barrel as they will naturally find it on their own. If you have a chilled or weaker baby, you may want to place them inside at first, but keep an eye on them to ensue they are strong enough to come out to nurse.
 Each barrel can accommodate up to six kids/lambs and 8-10 piglets. It is much easier to build and deploy multiple barrels than it is to find a suffocated baby from not having enough room.
You will notice that even if the barrels happened to be knocked over, at no time will the bulb come in contact with bedding setting up the opportunity for a heat lamp caused barn fire.
When warmer temperatures return or the kids have matured enough (I pull my barrels at 30 days), simply remove the barrels and store away until the next time you need them.